An example of a reimbursed expense can be a delivery fee paid to transfer goods from seller to buyer. Since your every business transaction needs to be recorded in the books of accounts, so do the Reimbursed expenses. Learn how to record reimbursed expenses in QuickBooks Online software.
How to Enter/Record Reimbursed Expenses in QuickBooks Online
Learn how to record the reimbursed expenses in QuickBooks Online.
- Log in to your accounting software and open up your company file.
- Click on the billing tab and feed in the name of the vendor for whom you want to create a reimbursable expense.
- Now put in the reimbursed amount and also select the relevant customer job.
- Under the bills column, specify if you want to charge this amount to your client.
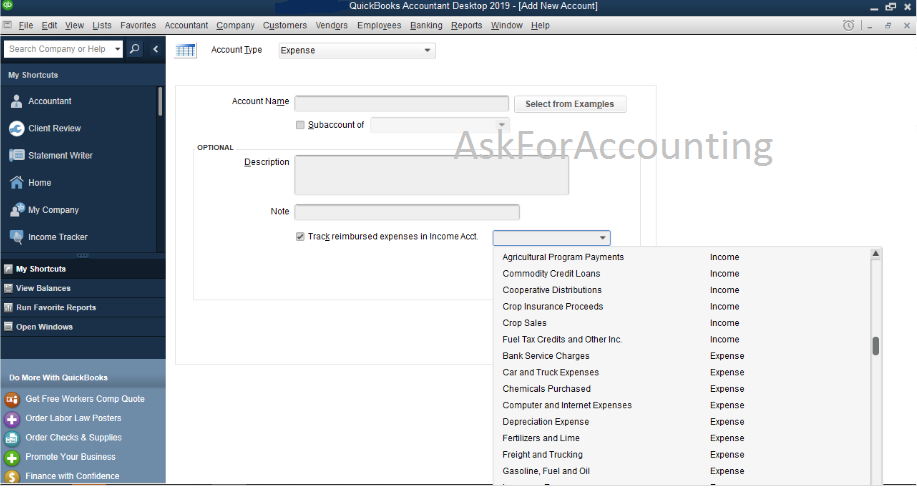
- If you do not want to specify the charge then keep the default settings. Please make sure that the expense will still be reported but now won’t be charged.
- But if you want to charge your customer for the reimbursement then check-mark the box alongside the option.
- Click OK and Save. When this is done then you will have a successfully reimbursed expense within your QuickBooks platform.
How to Invoice the Reimbursement?
As you have entered the reimbursement amount now you might want to invoice the same to your customer as well. As you have already checked marked the option (in the previous step) of having the invoice mailed to your client, but now how will you activate and use it? Well, that you can do by following the steps below.
- Within your QuickBooks, click on the Invoices tab.
- You can locate the tab from the Customer’s option located on the top navigation bar.
- From the window that will appear, click on the New Customer drop-down button and locate the Jobs tab.
- Here click on the Add Cost option.
- Now choose the Reimbursable expense amount.
- Now click on the Hide button if you don’t want to charge your customer.
- Select the markup from the Expenses tab.
- Fill in all the other relevant info and hit OK.
- All the information feed-in will now be taken up by the invoice.
- Click mail the invoice and you will be prompted for the info.
- Feed in the info and Confirm.
- Click Send and the invoice detail will be sent to the customer.
If you need any further info. then do check out us at our toll-free Canada QuickBooks Online number. Our QuickBooks consultant will then take your call and help resolve your every issue.