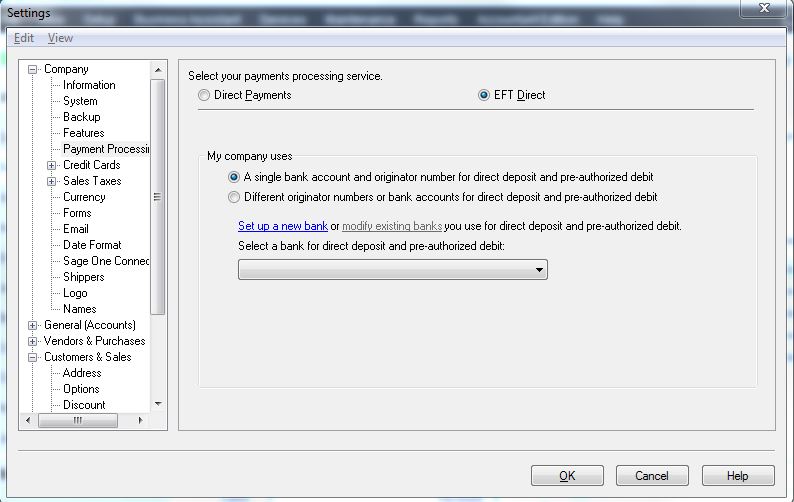
In today’s blog, we are going to tell you how to do the EFT Sage 50 EFT integration setup with this now don’t just create data files, but you can also generate files that are uploaded to the bank manually.
Electronic Fund Transfer (EFT) is now a built-in feature in Sage 50 edition, it is an easy but effective Sage 50 service that allows you to send your accounting data to banks and other financial institutions for direct deposits and withdrawals. It enables you to pay vendors, receive payments from customers, and pay employees via direct deposit with ease using electronic funds transfer (EFT).
Some of the Advantages of Using Electronic Funds Transfers (EFT)
Sage 50 electronic fund transfer is an easy and convenient way to move money between your bank account and other financial institutions. With Sage 50, you can transfer money in just a few minutes.
- Increased precision during fund transfers.
- Fraud risk is reduced.
- Transaction processing time and cost are kept to a minimum.
- Payments are made with fewer errors.
Steps to Sage 50 EFT Integration Setup
This Sage 50 electronic fund transfer (EFT) system is quick and easy to use, and it allows you to send and receive money from almost any bank in the world. By following the steps outlined below, you can easily set up and use Sage 50 EFT.
Step 1: Enter Details About Your Company

- Go to Start, then Programs, and then Sage 50 electronic fund transfer direct in Windows.
- The New Company window will appear automatically if you are using Sage 50 EFT Direct for the first time. Fill out all of the required information under ‘Enter Details About Your Company.’ These are some of them.
- Several identifications: Enter the 10-digit EFT transaction number from your bank.
- Working Directory: This is where you’ll put your EFT data files. Enter the location of your Sage 50 data files in the Directory field.
- Name of Sage 50 File: Choose the file that contains your Sage 50 data.
- Payroll, Accounts Payable, and Accounts Receivable File: Enter the name of the file that Sage 50 EFT Direct should use to store data for sending to your bank.
Step 2: Enter Bank Account Information
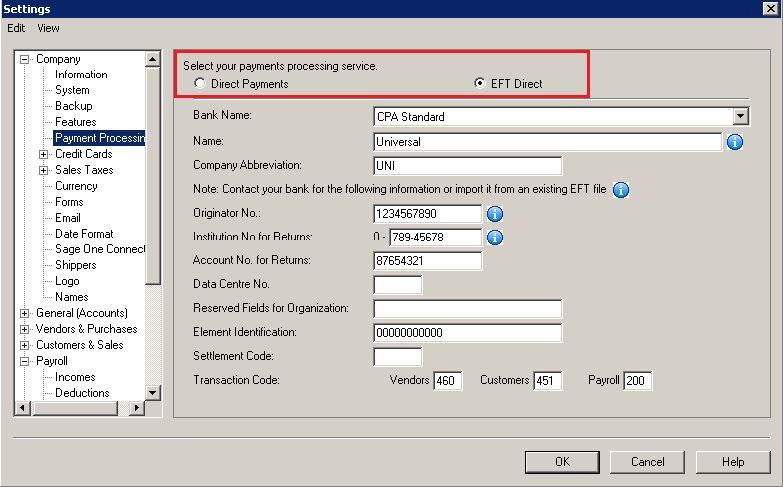
Now proceed to the next section to enter your bank account information. Fill in all of the information on the screen by clicking the EFT button. This includes the following.

- Returns Institution Number: Enter the institution number provided by your bank. Returns Account No. : Enter the account number to which you want the funds to be transferred due to account closure or information that has been mistyped.
- Data Center Number: This is the data center number that your bank has given you. This information is not required by all banks.
- Organizational Reserved Fields: Fill in the number provided by your bank.
- Element Identification: The CPA standard is the only one that uses this field.
- Code of Settlement: Put the settlement code in here. This is not required by all banks.
- Accounts Payable and Receivable Transaction Code: Either enter a standard value or a custom value. Accept the code displayed on-screen or enter the CPA transaction code.
Step 3: Employee, Vendor, or Customer Record
- Click Close and return to the New Company, you’ve finished entering all of the information screens.
- To save your entries, click Add.
- Sage 50 EFT Direct will automatically import your customer, employee, and vendor information after you’ve entered your bank information.
- Add all of the necessary information to the employee (customer or vendor) tab.
- Employee Maintenance is the option to choose. Select an employee and then press the Modify button.
- Fill in the bank account information and the accounts into which you want to deposit your paychecks.
- Set the employee’s Direct Deposit status to Active by checking the box.
- To add an amount to this line in the file you’ll send to the client, check the Active box.
- To save your entries, click Save.
Step 4 – Payroll Section

- Go to the next section after you’ve finished entering the information “Using sage 50 as an EFT “and make a file that you can send to your bank.
- Select EFT Direct Payroll Generation from the file generation menu.
- Fill in the information regarding pay periods and dates.
- To determine when funds should be deposited into your employees‘ accounts, choose either “Use employee check dates” or “Use default funds available date.”
- To begin extracting payroll data from Sage 50, click Continue.
- Now, in Sage 50 EFT Direct, go to the Payroll Selection screen and fill in all of the required information. By double-clicking on a list of employees in the file, you can select it.
- To include them all, click the Select field or check the Select All box.
- To create a direct-deposit file and print the report, click the Generation button.
- Finally, to create the payroll file, select Yes.
How to Use EFT Direct in Sage 50 Software
Hope this blog will assist you in getting up and running with Sage 50 Direct. If you require additional assistance in setting up or using Sage, please contact Sage 50 Consultant staff of specialists.

