Thus let’s check out how to customize purchase order in QuickBooks Desktop, here’s how this can be done. QuickBooks can prove to be a great deal of help in customizing purchase orders. There are two types of customization basic and additional. This customization helps one to change the view of the purchase order in case you don’t prefer the inbuilt default template.
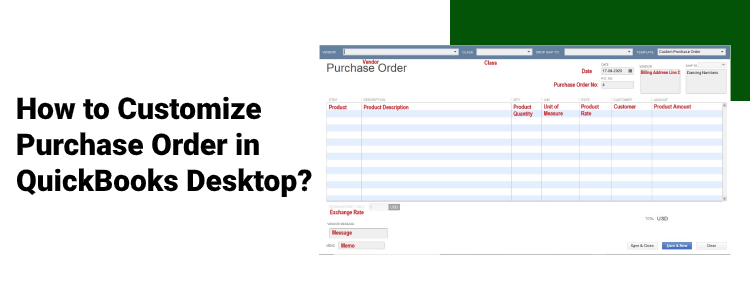
How to Customize Purchase Order in QuickBooks Desktop
Here are the simple steps that can help you to customize purchase order in QuickBooks Desktop.
Step 1: Basic Customization of Purchase Order
In this customization, you will have to follow the steps given below.
- From the QuickBooks menu, select the List option.
- From there, select Template, or another way to do it is to go to the Purchase Order page directly from the home screen.
- Click on Customize.
- Now you need to select Customize Data Layout.
- Then select Basic Customization.
- You can also select a logo to suit your needs with a customized color scheme.
- Customize the font and font size as per your requirements.
- Choose what information about the company you want to include in the form.
Step 2: Additional Customization of Purchase Order in QuickBooks
Apart from what has been covered in the basic customization of the purchase order, you can opt for the additional customization that can get done more bit of the same customization. After all, there is no loss to get more.
- Unlike selecting the basic customization, select Customize Data Layout from the page of Customize your QuickBooks forms.
- You will be directed to the page that will enable you to choose footers and headers together with a print layout.
- You can choose other items to add like Terms, Account number, Expected, Ship Via, FOB, and many more.
- From the headers screen, you can choose to add boxes that you want to include. Likewise, there is an option to customize columns too.
Step 3: Process Customization
- Download templates that are predesigned.
- Turn on the preference for using a purchase order.
- Decide on the template to be used.
- Click OK.
- Now customize the template that you want to use by changing the purchase order title.
- You can rename the date, purchase order, and other information.
- Make the necessary changes you want.
- You can add and remove columns and items you want to.
- The beautiful part is that you can add lines and borders as per the view you want it to appear.
- Now the final stage is to have a look at the final result. Change the printer settings and proceed to be wowed.